So you’ve hired a mold company. What happens next?
Here’s what most people don’t realize. A real mold remediation process isn’t spray and wipe. It’s a sequence. And the order counts as much as the work, because one step done out of turn undoes the one before it. Skip containment, and you’ve seeded the rest of the house. Clean before the leak is fixed, and you’ll be doing it again by spring.
This guide walks through the whole professional mold remediation process, plus the gear a real crew brings and how you’ll know it worked. Or skip the reading and have someone look at it. Our professional mold remediation services start with an inspection.
The Mold Remediation Process: Step-by-Step
Nine steps. Some crews count seven, some count eight, but the work is the same.
What follows is the mold remediation process explained the way the IICRC S520 standard orders it. These are also the mold remediation steps a decent company can rattle off before they ever quote you. If yours can’t, that tells you something.
Step 1: Inspection and Assessment
Nobody touches anything yet. First they work out how far it’s gone.
Moisture meters along the baseboards. A look behind the obvious spots. Air samples sometimes, to catch what’s drifting around. Because it’s less about the patch you already found and more about the ones you haven’t. That’s what sets the scope: how big this is, what has to come out, what stays.
Step 2: Identifying and Addressing the Moisture Source
This is the step cheap operators skip. It’s also the one that decides whether the mold stays gone.
The EPA puts it plainly: control the moisture, and you control the mold. So the leak gets found and fixed first. A cracked supply line, a gap in the roof, a bathroom with no working fan. Clean mold off a wall that’s still wet and you’re buying a few weeks, nothing more.
Step 3: Preparing the Home and Testing for Other Hazards
Older house? There’s a catch here.
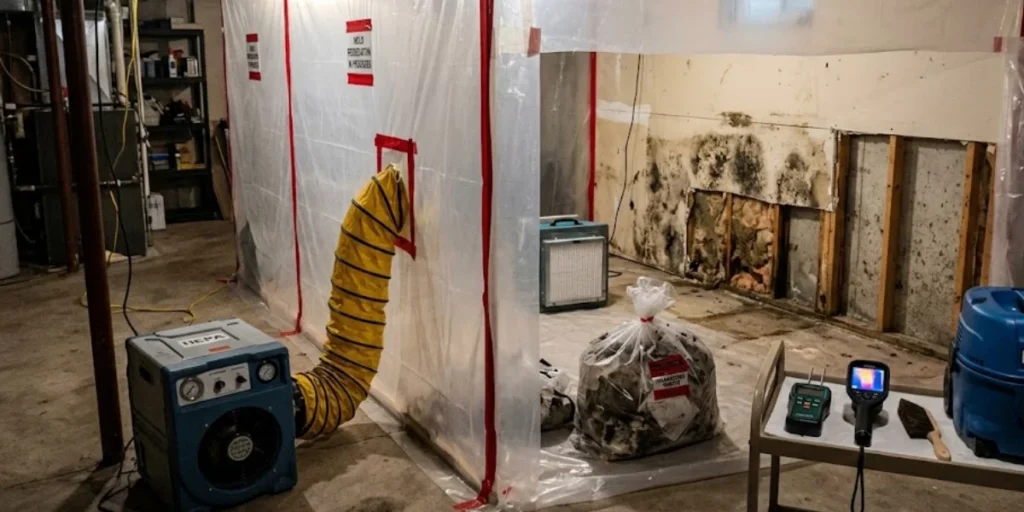
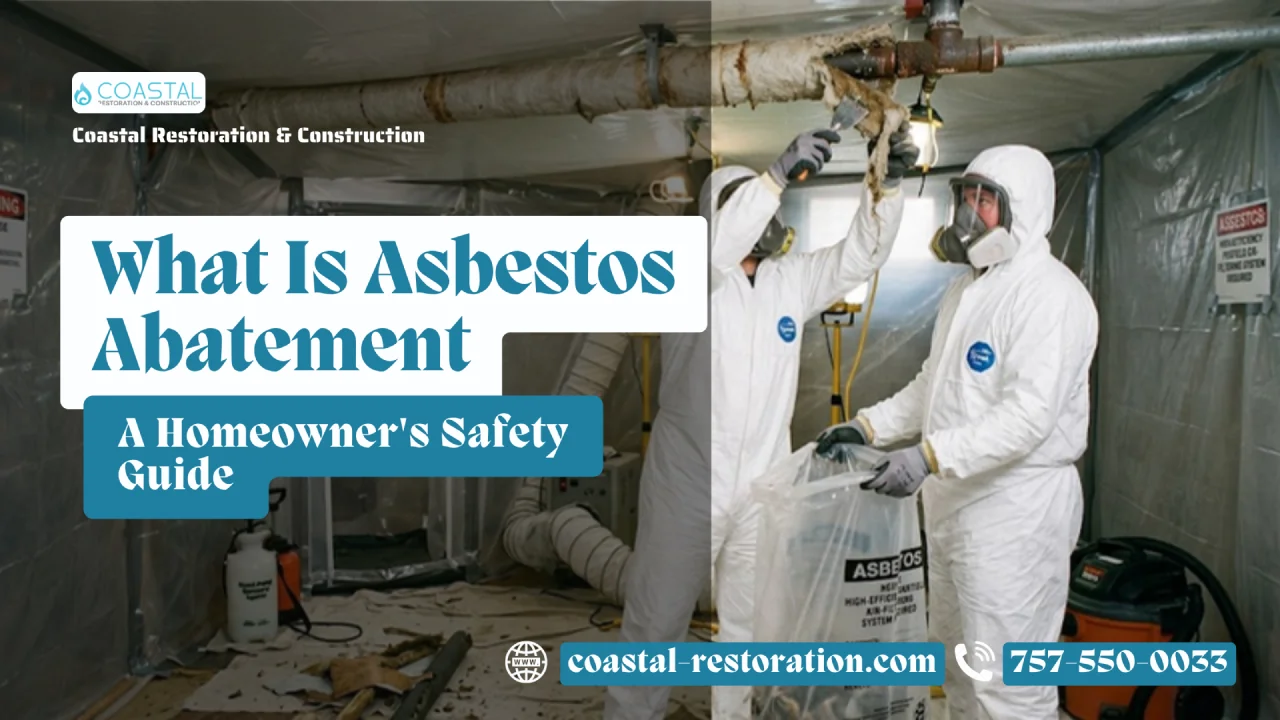
Before demolition starts, the crew clears the work area, seals the vents, and checks whether the material coming out is hiding something else. Homes built before the 1980s can have asbestos in the flooring or lead in the paint. Tear into either one blind, and you’ve turned one problem into two. That’s hazardous materials removal, and it gets handled separately.
Step 4: Containment and Safety Setup
Now they wall it off. Plastic sheeting around the work zone, tape over the vents, and on bigger jobs, a decontamination chamber at the entrance so nobody carries spores out on their boots.
The crew suits up too. Respirators, goggles, disposable coveralls.
Step 5: Air Filtration and Ventilation
With the plastic up, the air handling starts.
Air scrubbers run inside containment while a negative air machine pulls more air out of the space than flows in. That keeps the pressure lower inside than out, so air moves inward through every gap, and the contaminated air can’t drift into your living room. Dehumidifiers run alongside, holding humidity down while the work happens.
Step 6: Mold Removal and Cleaning
Now the actual removal.
Porous material that soaked up mold has to go. Drywall, carpet, insulation, all of it gets cut out and bagged inside containment. Hard surfaces stay, but they get scrubbed, HEPA vacuumed, and treated with an antimicrobial once they’re clean. That’s what professional mold removal services handle, and it takes longer than people expect.
Step 7: Drying and Dehumidification
Mold’s out. The building materials are still damp.
Industrial air movers and dehumidifiers run until the moisture readings come back to normal, and somebody should be checking those readings rather than guessing. Rebuild over a wet stud, and you’ve sealed the next mold problem inside a finished wall.
Step 8: Repairs and Restoration
Then the room gets put back together. New drywall, insulation, flooring, paint.
One thing worth knowing: this is frequently a separate line on the invoice, or even a separate contractor. Remediation and reconstruction aren’t the same trade.
Step 9: Post-Remediation Verification
Last, somebody confirms it worked. A visual check for missed growth, staining, or leftover debris, plus air or surface sampling on larger jobs.
Only after that does the containment come down.
Mold Remediation Equipment: What Crews Actually Use
Most articles say “specialized equipment” and leave it at that. Here’s what that actually means, because the mold remediation equipment sitting in your driveway tells you a lot about who you hired.
- HEPA vacuums. Rated 99.97% at 0.3 microns, with a sealed housing. HEPA vacuum mold remediation work uses a two-pass method, once before cleaning a surface and once after. S520 flat-out prohibits household vacuums, and for good reason. An unsealed consumer unit leaks spores back out through the seams, which is a common cause of failed clearance tests.
- Negative air machines. These create the pressure difference that keeps spores inside containment. Sized by air changes per hour, typically 4 to 12 depending on severity.
- Air scrubbers. Same HEPA rating, running continuously to pull spores out of the air.
- Moisture meters and thermal cameras. For finding the damp you can’t see.
- Commercial dehumidifiers and air movers. For the drying stage.
Ask a contractor what they’re bringing. A vague answer is an answer.
Mold Remediation Clearance Testing
Mold remediation clearance testing is the independent check that the work succeeded. It’s not the same thing as the contractor telling you it looks fine.
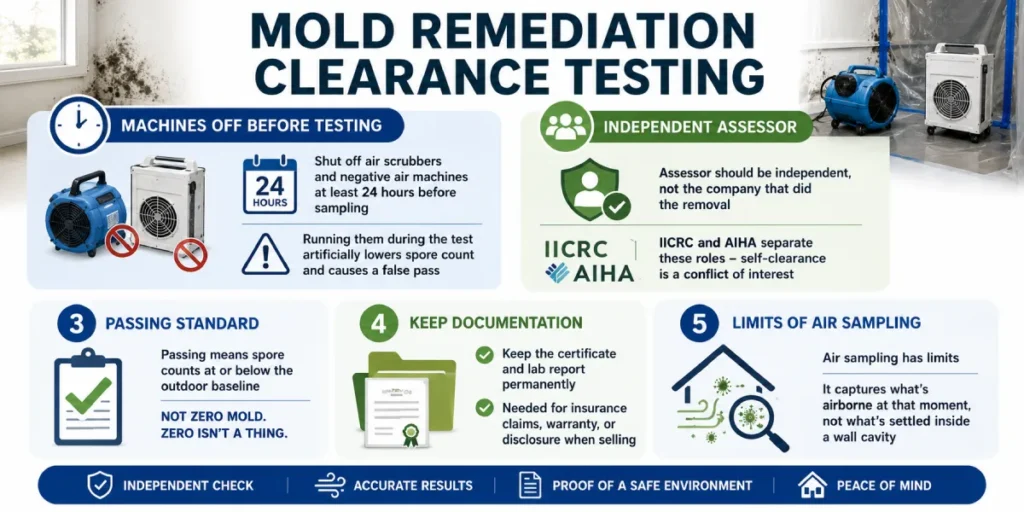
And here’s a detail almost nobody explains to homeowners. Air scrubbers and negative air machines have to be shut off at least 24 hours before sampling. Run them during the test, and they artificially suppress the spore count, which produces a false pass. The room reads clean because the machines are cleaning it in real time.
A few other things worth knowing:
- The assessor should be independent, not the company that did the removal. IICRC and AIHA both separate those roles, since self-clearance is a conflict of interest.
- Passing means spore counts at or below the outdoor baseline. Not zero mold. Zero isn’t a thing.
- Keep the certificate and the lab report permanently. You’ll need them for an insurance claim, a warranty, or disclosure when you sell.
Air sampling has limits too. It catches what’s airborne at that moment, not what’s settled inside a wall cavity.
How to Prepare Your Home Before Mold Remediation
A little prep saves the crew time, and saves you money if they’re billing by the hour.
- Clear a path to the work area, and move furniture out of the room if you can
- Cover anything nearby that has to stay put
- Set aside anything you don’t want touched or thrown away
- Plan for pets and kids to be somewhere else during the work
- Have the leak repair scheduled, or at least identified
If you already know where the water came from, say so on day one. It shortens the inspection and gets the real fix started sooner.
Final Thought
Every step in the mold remediation process exists because somebody learned the hard way what happens when you skip it. Containment keeps one bad room from becoming four. Drying keeps the problem from restarting behind new drywall. Verification proves the whole thing worked.
So if you’ve found mold, the useful first move is an inspection, not a purchase. Our team will look at what you’ve got, find the water behind it, and tell you straight what the job needs. And once it’s done, our mold prevention tips cover keeping it that way.
Frequently Asked Questions
How long does the mold remediation process take?
Most home jobs run one to five days. A small contained patch can wrap in a day. Widespread growth, HVAC involvement, or structural work stretches to a week or more, plus drying time and any wait on clearance results.
Do I have to leave during the process?
For a small, sealed-off job, generally no. Widespread contamination, mold in a shared HVAC system, or someone at home with asthma or a weak immune system makes staying elsewhere the safer call.
What happens if the clearance test fails?
The contractor comes back and redoes the failed area, and a reputable one does it at no charge. Get that in writing before work starts.
Can I skip clearance testing on a small job?
It isn’t required everywhere. But it’s still smart if you’ve had a recurring moisture problem, or if someone in the house is sensitive to mold.